

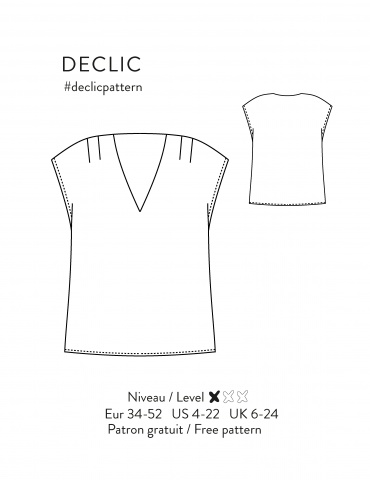
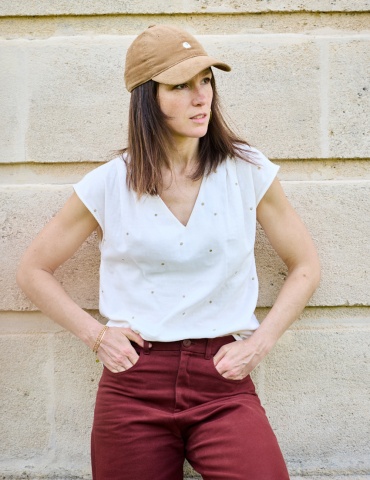
DECLIC
PDF:
FREE
 Shortening / Lengthening
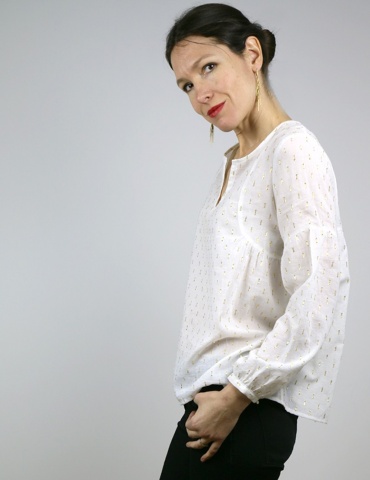
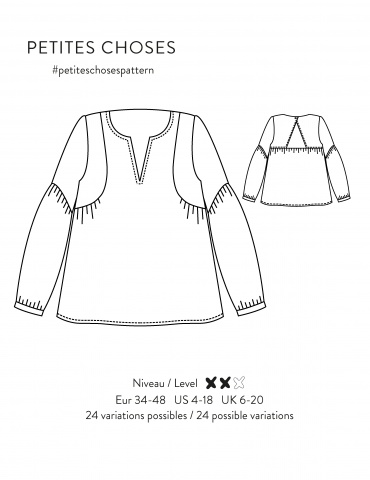
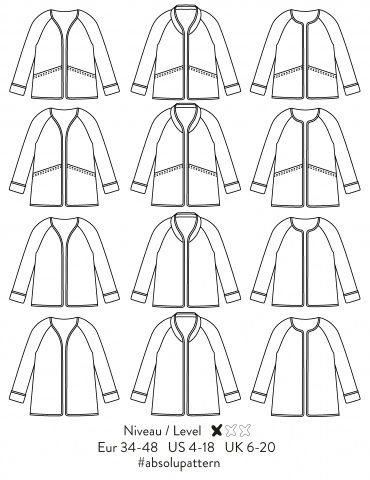
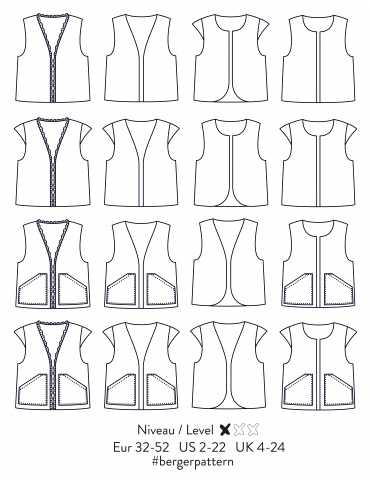
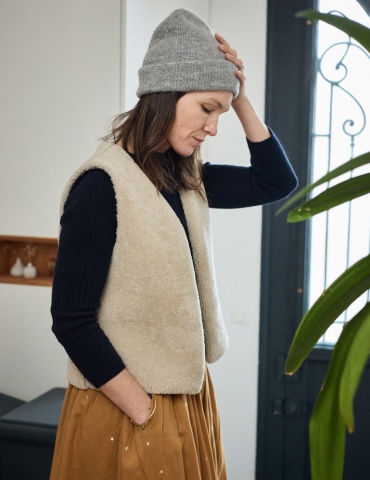
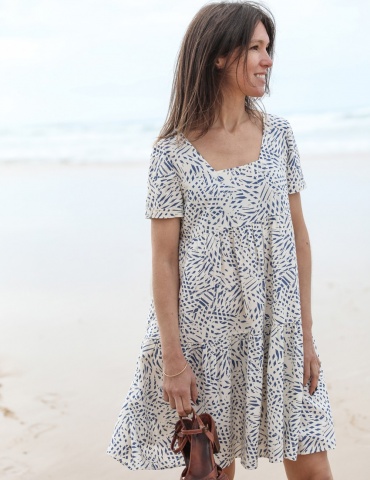
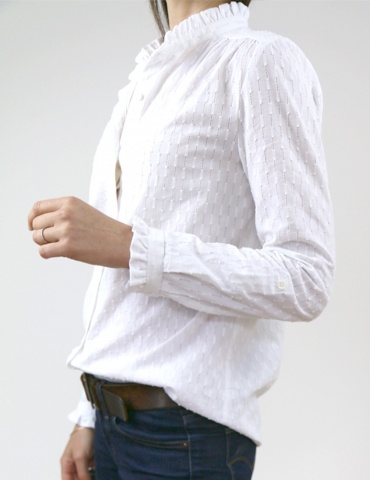
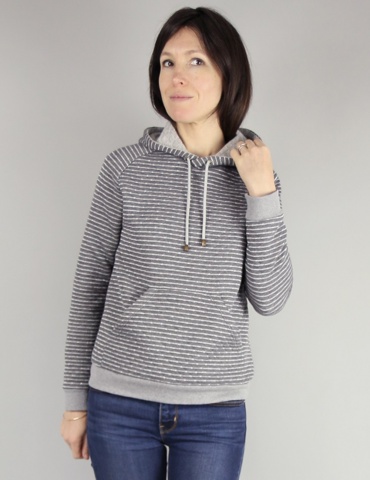
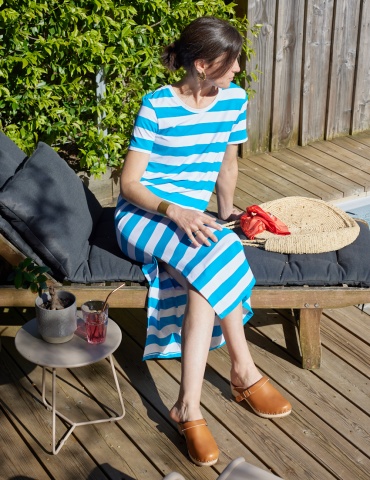
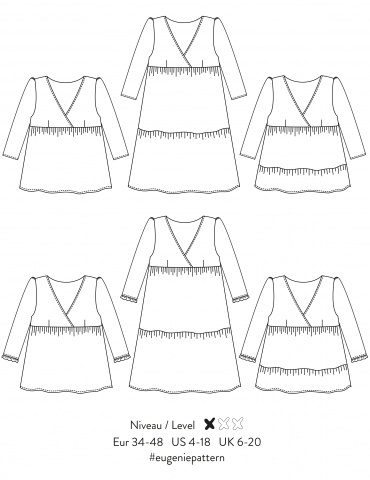
 New pattern IDOLE
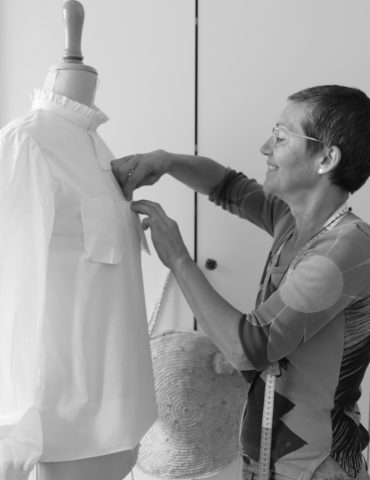 Welcome Myriam !

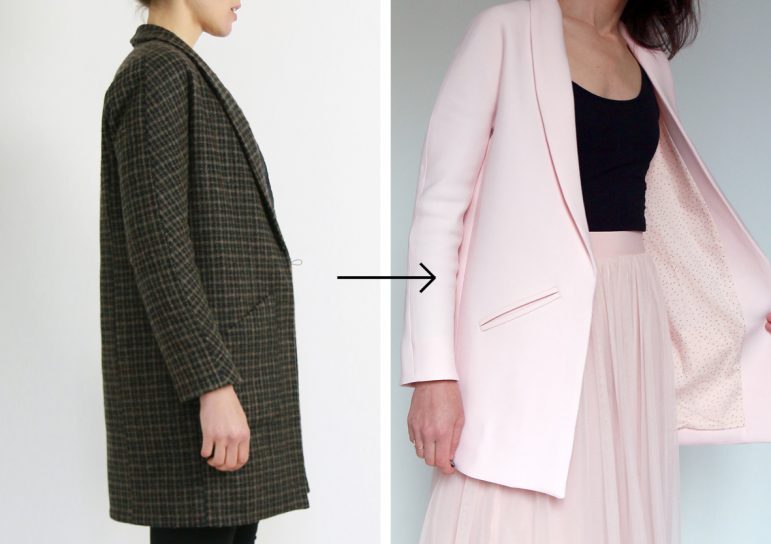
If you have no training in pattern making, shortening, and lengthening a garment, especially a lined one, may seem quite complex.
Actually, the method is quite simple.
That is why I decided to make you a simple grid to help you, no matter what type of garment.
1/ PRESENTATION OF THE METHOD
First, it is important to know that there are 2 different methods depending on the type of garment that you want to modify:
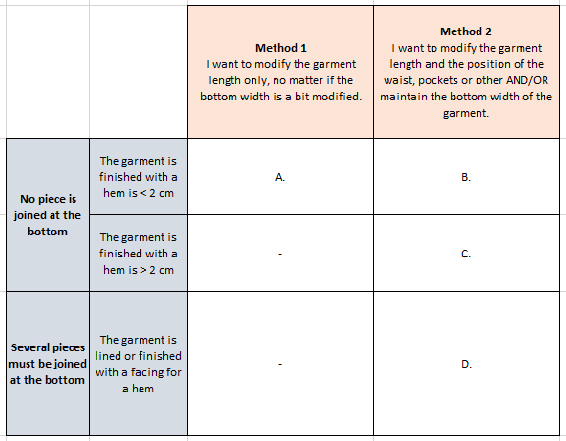
The same thing in words:
A. No piece is joined at the bottom: the garment is not lined or finished with a facing. The hem is < 2 cm and it does not matter if the bottom width of the garment is modified -> Method 1
B. No piece is joined at the bottom: the garment is not lined or finished with a facing. The hem is < 2 cm AND you want to modify the position of the waist, pockets or other while maintaining the bottom width of the garment -> Method 2
C. No piece is joined at the bottom: the garment is not lined or finished with a facing but the hem is > 2 cm AND/OR you want to modify the position of the waist, pockets or other -> Method 2
D. Several pieces must be joined at the bottom: the garment is lined or finished with a facing for a hem AND/OR you want to modify the position of the waist, pockets or other -> Method 2
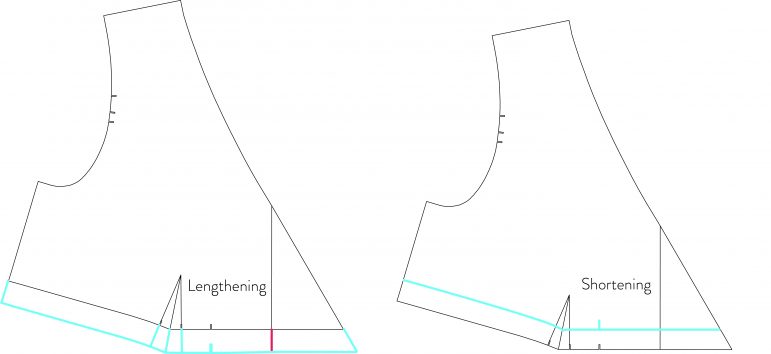
Method 1
This is by far the simplest method, but it does not allow you to modify the position of the waist, pockets or other.
Note that it will slightly modify the bottom width of the garment, but it will not have any visual or technical effect since nothing is assembled with the bottom line.
1. Draw the new bottom line parallel to the original line.
2. Lengthen/shorten the side lines as much as you wish.
Note: if the line has darts, you only need to shorten/lengthen them without modifying them.
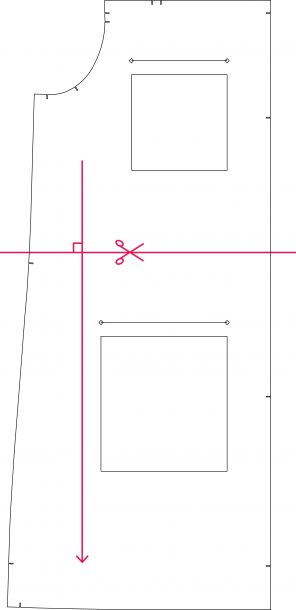
Method 2
This method consists of cutting your piece in half crosswise to keep a portion of the pattern intact.
1- Extend the grain line to the bottom of the garment. Draw a perpendicular line, above/below the elements that you want to keep (waist, pocket or other) or else for about 6-8 cm. Cut along this line.
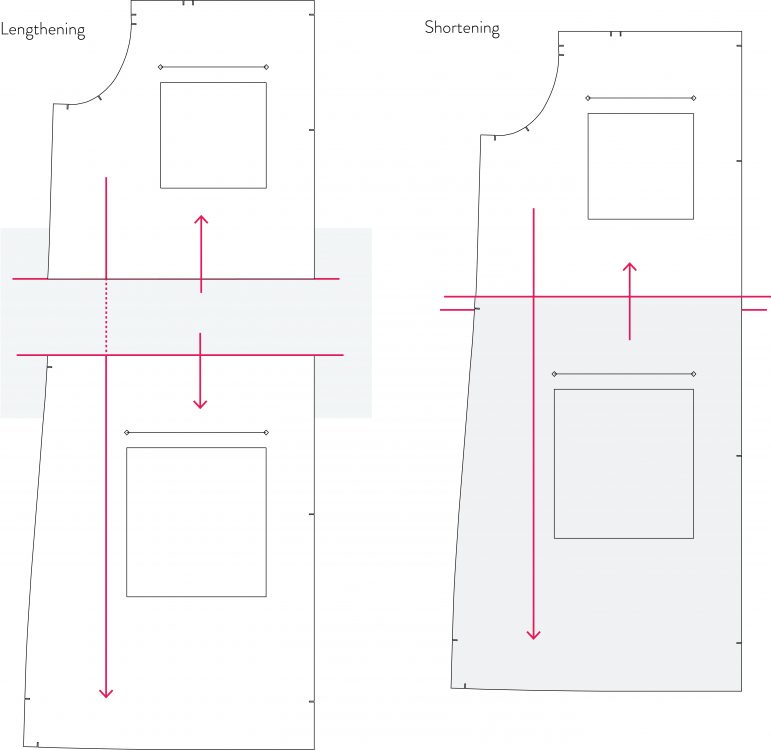
2- Overlap or separate the 2 pieces as you wish minding the straight grain line extension. Tape the pieces together, add a piece of paper under pattern if needed.
3- Redraw and join ends of straight side lines or, use a French curve for curved lines (in the gap created by the cut), starting, and stopping beyond the ends.
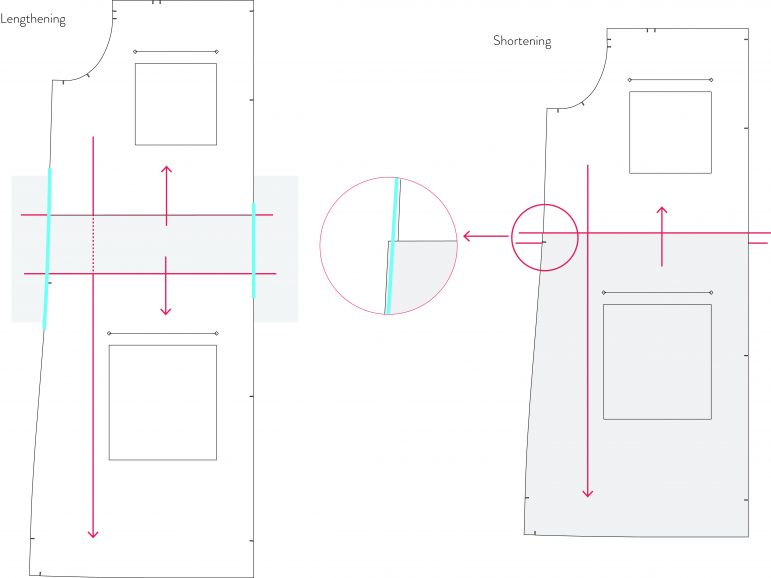
4- Follow assembly steps for the garment without any changes!
NOTE: Remember to carry out the modifications on all involved pieces, including the lining if there is one.
Both methods are carried out on the bottom lines of pieces, except in certain cases for trousers.
Specific cases
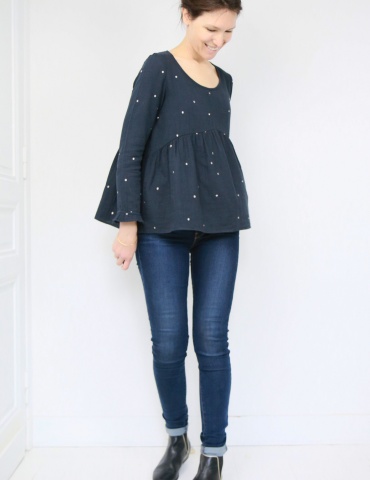
– Blouse with gathered basque: Method 1 to use on the top and/or on the basque
– Dress with gathered waist (with or without belt): Method 1 to use on the top and on the skirt
– Dress without gathered waist: Method 2 to use on the top and on the skirt
– Jumpsuit with gathered waist: Method 1 to use on the top, the bottom of the trousers as well as the top of the trousers.
– Jumpsuit without gathered waist: Method 2 to use on the top, the bottom of the trousers as well as the top of the trousers.
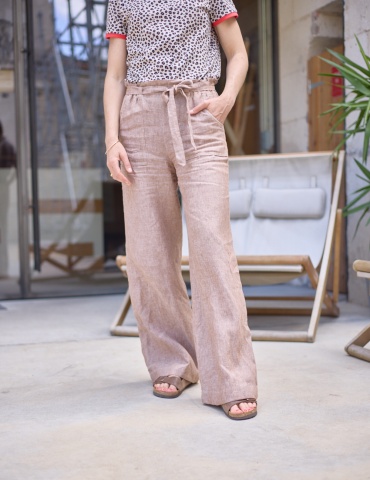
– Trousers: Method 2 because the hem is often > 2 cm. Note that other than jumpsuits, trousers are rarely shortened/lengthened on the top, but may be below the waistline if needed. Note that in this case, it may be necessary to reduce/enlarge the waistline as well by removing/adding required mm along with the side line.
2/ CALCULATE THE VALUES
Here is how to calculate how much to remove/add to the pattern when your height is different from the base size for my patterns – 170 cm.
Note that these values are only approximative and may vary according to individual morphologies.
For a 5 cm difference in height, you could:
– Shorten/lengthen the top by an average of 1.5 cm
– Shorten/lengthen the sleeves by an average of 1 cm
– Shorten/lengthen the bottom by an average of 1.5 cm
By “top”, I mean blouse, shirt, or jacket.
By “bottom”, I mean skirt or trousers.
Thus, a dress is a “top” added to a “bottom,” as is a coat.
A jumpsuit is also the addition of a “top” with a “bottom,” but it also has a crotch that may be also shortened/lengthened for comfort.
Here is a table with values that will help you alter your pattern according to your height.
Simply enter your height in the yellow box and follow the guide 😉


Found you today. Love your ultra didactic style. Have had some pattern cutting training at sewing classes and really love it.
I need to get back to sewing , and making clothes for my daughter who is 150 cm tall and a UK size 12/14. Elle a le trisomie 21.
a bientot